
How to Prepare Your Home for Photos with Decluttering Staging and Natural Light

A camera notices everything. The shoes by the door, the pile of mail on the counter, the wrinkled bedding, the dark corner that feels cozy in person but reads gloomy in a photo.
The good news is that you don’t need a full home makeover to get beautiful photos. A little editing, cleaning, and thoughtful styling can make your space feel open, cared for, and welcoming. Whether you’re getting ready for a real estate listing, a rental profile, or updated photos of your home, the goal is simple: help each room look its best while still feeling like a real place to live.
Start with decluttering before anything else
Before styling a single pillow, clear the visual noise. Clutter pulls attention away from the room itself. In photos, even small items can look busier than they do in person.
Start with the surfaces people notice first:
Kitchen counters
Bathroom vanities
Coffee tables
Nightstands
Entryway benches
Open shelving
You don’t have to get rid of everything. Just be selective. Keep the pieces that add warmth or purpose, like a vase, a lamp, a small stack of books, or a bowl of fruit. Pack away the rest for the day.
A helpful trick is to take a quick phone photo of each room before the real photos happen. You’ll spot things you missed in person, like crooked cords, too many small objects, or a blanket that looks messy instead of relaxed.
Pay extra attention to personal items too. Family photos, paperwork, pet bowls, laundry baskets, and bathroom products can distract from the room. Tuck them away so the space feels clean and easy to imagine.
Think edited, not empty. A room with zero personality can feel cold. A room with too much stuff can feel cramped. The sweet spot is clean, open, and lived-in.
Clean spaces always photograph better
A clean room has a different kind of glow. Floors look brighter, counters reflect light better, and windows let in more sunshine. Even if you’re short on time, focus on the areas that show up most clearly in photos.
Clean these before photo day:
Windows and glass doors
Mirrors
Floors and rugs
Kitchen appliances
Sinks and faucets
Shower glass
Baseboards in visible areas
The camera can catch streaks, dust, fingerprints, and pet hair, especially in bright rooms. Don’t forget small details like crumbs near the toaster, water spots by the sink, or lint on dark bedding.
If you’re preparing for real estate or rental photos, clean spaces also send a quiet message: this home has been cared for. That matters.
Stage each room with a clear purpose
Staging doesn’t mean making your home look fake. It means helping each room make sense at a glance. When someone looks at the photo, they should know what the room is for and why it feels useful.
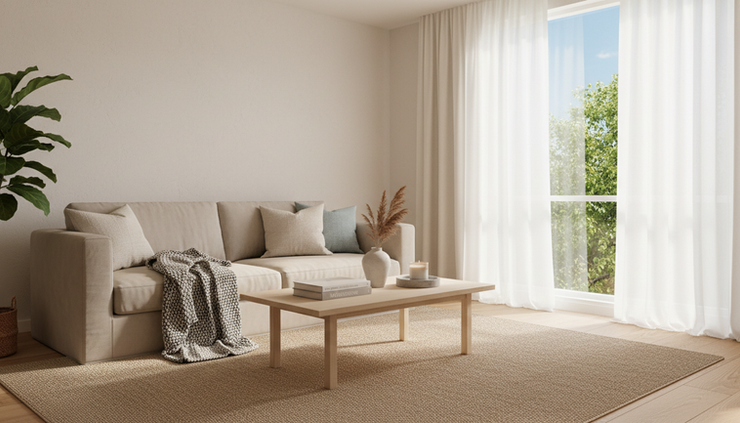
Living rooms should feel open and inviting
The living room is often the first space people judge in photos. Create an easy flow by removing extra chairs, bulky side tables, or anything blocking walkways.
Try these simple updates:
Fluff sofa cushions and pillows
Fold throws neatly
Clear remote controls and cords
Style the coffee table with one to three items
Pull furniture slightly away from the walls if the room allows
A plant, a tray, or a textured blanket can add softness without making the room feel crowded. Keep colors calm and coordinated, especially if the room already has bold furniture or artwork.
Kitchens should feel clean and functional
Kitchens sell the feeling of daily life. They should look bright, fresh, and easy to use.
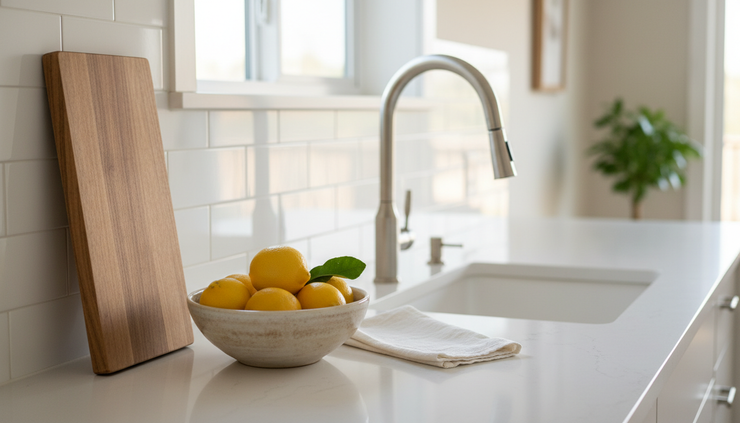
Clear most countertop appliances unless they’re attractive and placed with care. A coffee maker may be fine. A row of gadgets usually reads as clutter. Put away dish soap, sponges, paper towels, magnets, and drying racks.
For decor, keep it simple. A bowl of citrus, a vase of greenery, or a clean wooden cutting board can warm up the space without stealing attention.
Bedrooms should look restful
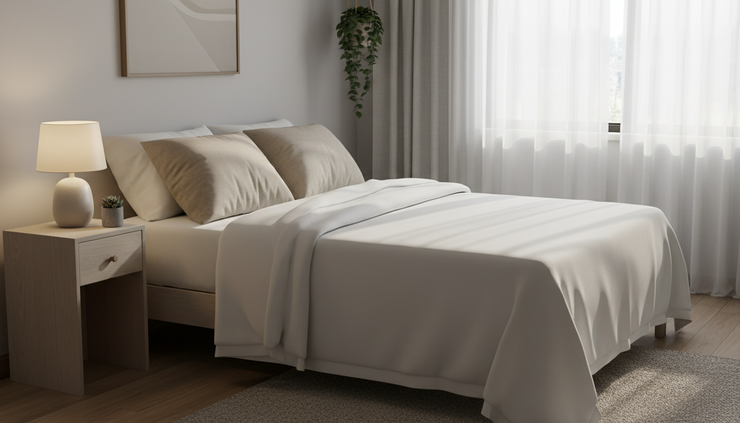
Bedrooms photograph best when they feel calm. Make the bed carefully, smooth the duvet, and use pillows that look full but not overdone.
Nightstands should be nearly clear. A lamp, a small book, or a simple vase is enough. Hide charging cords, tissue boxes, laundry, and personal items.
If the room has a closet in the photos, tidy it too. You don’t need a boutique-level closet, but it should look organized and not packed to bursting.
Use natural light to your advantage
Natural light can make a room feel larger, warmer, and more welcoming. Before photos, open blinds and curtains all the way. Clean the windows if you can, since dust and streaks can dull the light.
Turn off harsh overhead lights when natural light is strong. Mixed lighting can make colors look strange, especially when daylight and warm bulbs compete. If a room is dark, use lamps with matching bulb tones so the light feels even.
Timing matters too. Some rooms look best in the morning, while others glow later in the day. Walk through your home and notice when each room feels brightest. If you’re working with a photographer, share that detail.
For rooms with limited light, use these quick fixes:
Move dark objects away from windows
Use lighter bedding or throws
Open interior doors to borrow light from nearby spaces
Remove heavy window coverings for the shoot
Add a mirror where it reflects brightness, not clutter
Light should guide the eye, not fight the room.
Add decor that feels warm but not distracting
Appealing decor helps photos feel finished. The key is choosing pieces that support the room instead of taking over.
Seasonal touches can work beautifully when they’re subtle. In fall, try a warm throw or a small bowl of pears. In winter, use greenery, candles, or cozy textures. In spring and summer, fresh flowers, pale linens, or a simple vase can make the home feel light and current.
Personal style matters too. Your home shouldn’t look like every other home online. If you love color, keep a few pieces that show it. If your style is minimal, let clean lines and textures do the work. The goal is to create a space that feels polished but still has a point of view.
Just avoid decor that is too personal, too themed, or too tiny. Small items often disappear in photos or create visual clutter. Larger, simpler pieces usually look better.
If you’d like help getting your home photo-ready, you can reach out to Veronica Chinchilla here for guidance tailored to your space.
FAQ
How far in advance should I prepare my home for photos?
Start a few days ahead if you can. Declutter first, clean next, then stage the rooms the day before or the morning of the shoot.
Should I remove all personal photos?
You don’t have to remove every personal item, but it helps to reduce them. A few tasteful pieces are fine, but too many can distract from the home itself.
What should I do with pets during home photos?
Put away pet beds, bowls, toys, and litter boxes before photos. If possible, have pets stay with a friend, neighbor, or in a safe area outside the photo path.
Do I need fresh flowers for home photos?
Fresh flowers are nice, but they’re not required. Greenery, fruit, or a clean vase can add the same feeling of care and warmth.

A polished home still feels like your home
Great home photos come from a mix of clean spaces, thoughtful staging, and good light. Clear what distracts, highlight what works, and give each room a simple purpose.
You don’t need perfection. You need rooms that feel bright, cared for, and easy to enjoy. Start with the living room, kitchen, and bedrooms, then add small touches that reflect the season and your personal style. The camera will thank you.


Comments